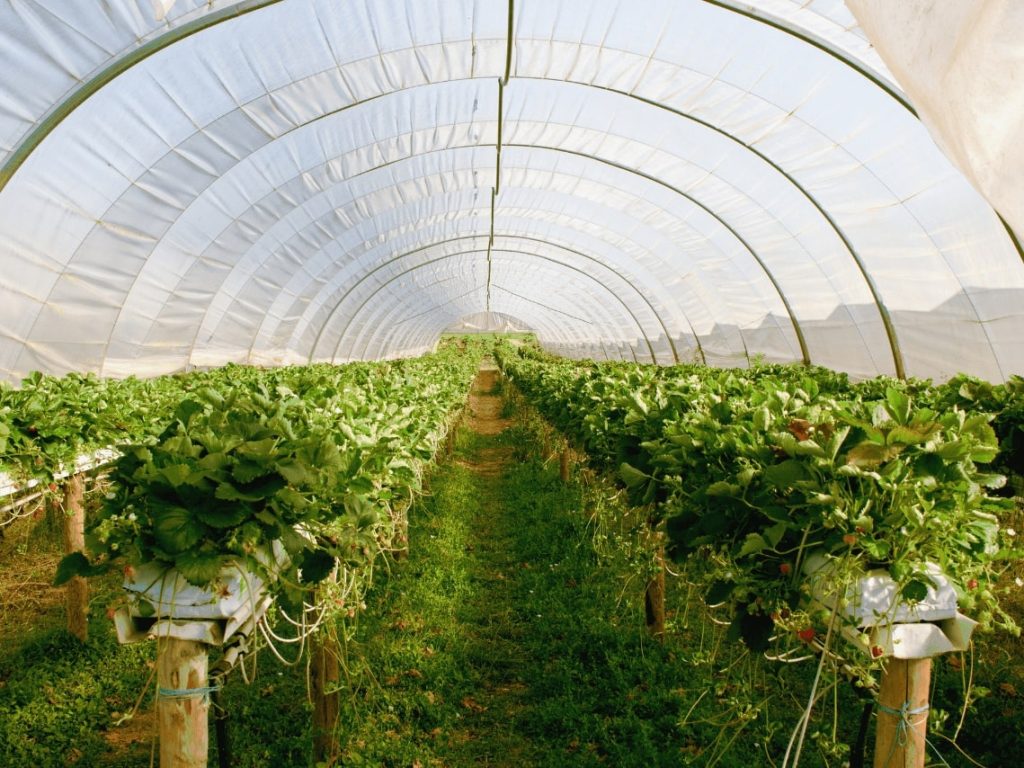
Setting up a greenhouse on your property is a great way to extend the growing season for your vegetables or flowers, but the radiant heating of the sun may not provide the warmth your plants need during cold weather. While using an electric heater is a definite option, we’ve also listed a range of budget-friendly and eco-friendly heating alternatives that can either supplement or possibly replace an electric heater. So read on to get your greenhouse ready for the next cold snap!
Things You Should Know
- Use everyday objects with a high “thermal mass” like bricks and water jugs to radiate warmth at night. Paint them black to increase the effect.
- Ensure good weather sealing and air circulation in your greenhouse to maintain a consistent temperature throughout the space.
- Composting—or even keeping rabbits or chickens—in your greenhouse will produce warmth and boost the internal temperature.
1. Water jugs or barrels
Place the jugs, ideally painted black, inside to soak up sunlight. Water retains the heat of the sun for far longer than air, which means each jug or barrel turns into a DIY radiator after sunset. For localized heating, put black-painted milk jugs right up near your plants. For larger-scale radiant heating, set up jugs on shelves or stack water barrels along the inside of the wall that’s opposite to the one that faces the sun.
- Unpainted jugs or barrels will still hold heat, but a black surface can absorb enough sunlight to radiate up to 300 BTUs per 1 sq ft (930 cm2).
- To be fair, it’s true that jugs or even barrels of water aren’t going to keep your greenhouse toasty warm on a cold night, especially after a cloudy day. But they may provide enough radiant heat to keep your plants above freezing, possibly in tandem with one or more heating methods
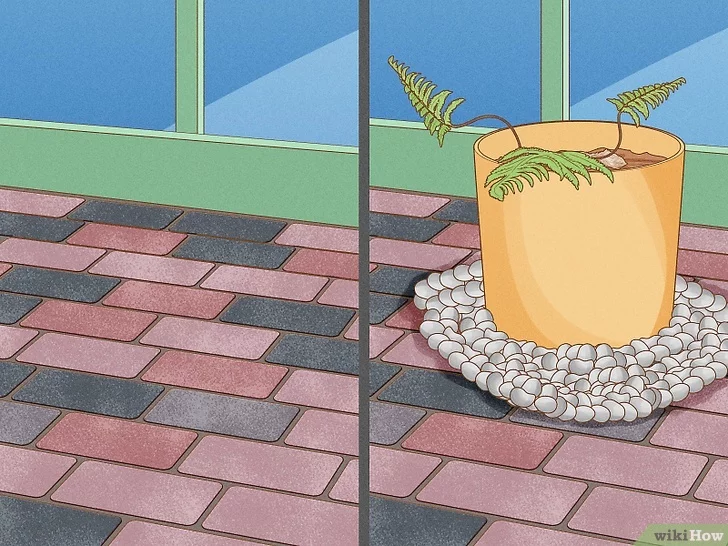
2. Brick, stone, or concrete
3. Weather sealing
Seal air leaks so heat only escapes where and when you want it to. You have to provide sources for fresh air ventilation when you build a greenhouse, but that doesn’t mean you want your structure to be drafty. Rather, make sure the air exchange happens only at the vents, windows, or other ventilation sources. Everywhere else, prevent heat escape (and cold air infiltration) by repairing torn plastic or cracked glass, caulking around window and door frames, and applying spray foam to seal larger gaps.
- On a cold but sunny day (when the inside temperature of your greenhouse is much warmer than outside), walk around inside the greenhouse and use your hands to feel for cold drafts. Repair or patch up these areas to limit unnecessary heat loss.
- Weather sealing might only make a slight temperature difference. But, if it keeps your greenhouse at 35 °F (2 °C) instead of 32 °F (0 °C) on a chilly night, those few degrees might make all the difference!
4. Bubble wrap
Insulate the walls with bubble wrap so sunlight can still get through. This one’s pretty straightforward: just buy a big roll of bubble wrap and use tape, tacks, or other means to attach it to the inside of the walls and ceiling of your greenhouse. While bubble wrap’s overall value as insulation is pretty small, it has one big advantage for this specific application: a single layer only blocks about 10% of the sunlight coming into your greenhouse.
- This is a good option if your greenhouse gets lots of sunlight during the colder months. If you get minimal sunlight during the winter, however, it’s best to let in as much of the light as possible.
5. Fans
Keep the greenhouse’s air circulating to prevent cold spots. Moving air horizontally around the greenhouse does the best job at keeping the temperature even throughout. Set up two fans near opposite corners, blowing in opposite directions, to create a steady airflow that circulates around the inside perimeter of the greenhouse. Run the fans 24/7—this should only cost you around $0.25-$0.50 USD per day.
- To figure out how much fan power you need, double the floor area of your greenhouse and compare this to the cfm (cubic feet per minute) rating of the fan. For instance, say your greenhouse is 6 ft × 8 ft (1.8 m × 2.4 m):
- 6×8=48; 48×2=96; so, use 2 fans that are rated for 50 cfm each (50×2=100).
- To convert cfm to m^3/h (cubic meters per hour), multiply by 1.7.
6. Compost
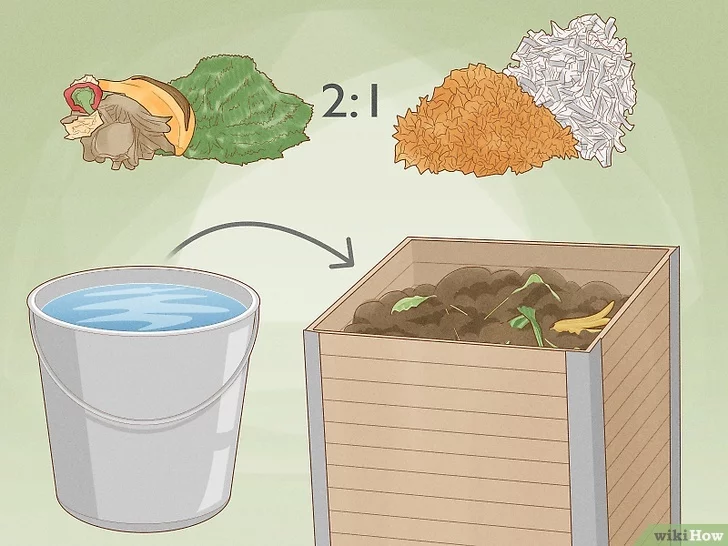
Use the heat caused by decomposition to your advantage. There are several different ways to compost, but the aptly-named “hot composting” with nitrogen- and carbon-rich materials can help generate heat inside your greenhouse. Combine a 2:1 ratio of “green” compostables (yard clippings, fruit peels, veggie scraps, etc.) and “brown” compostables (paper bags, newspapers, dried leaves, etc.) in a pile or bin, add some water, and mix it thoroughly.
- Stir the mixture and add more water every few days, and add more compostables in the same ratio as needed.
- The interior of a “hot composting” pile can reach 155 °F (68 °C) within a couple of days.
- This isn’t the most fragrant way to add warmth to your greenhouse, but it works!
7. “Hot bed” planters
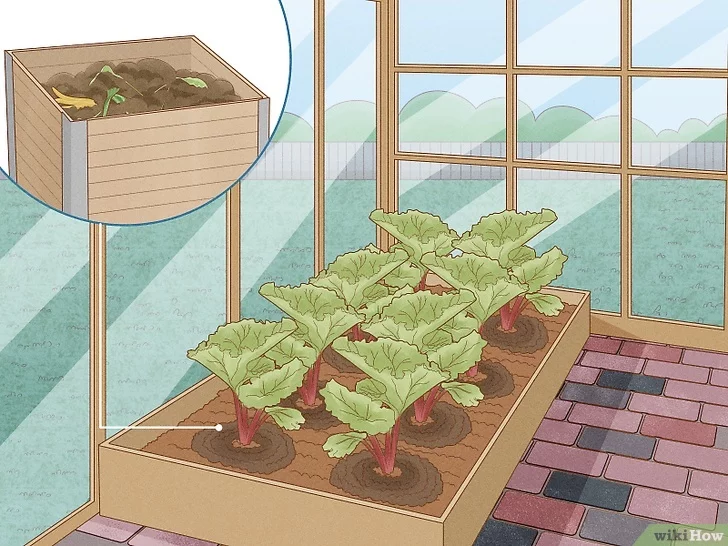
Put the compost directly beneath the plants you’re growing. Instead of relying on your “hot composting” to radiate heat throughout the greenhouse, put that heat right where it’s needed—near the roots of your plants! Beneath a 6 in (15 cm) layer of topsoil, fill your planting beds with compostables in the 2:1 “green” to “brown” ratio used for traditional “hot composting.”
- “Hot bed” composting is also less odoriferous than “hot composting.” But this doesn’t need to be an either/or proposition—instead, try using both methods in your greenhouse.
8. Plant covers
Covering your plants at night traps warmth where it’s most needed. Whether or not there is compost under it, the soil will absorb and then radiate some amount of solar heat. Covering your plants at night helps trap this radiant heat so it doesn’t just dissipate throughout the greenhouse. Use row covers for larger greenhouse rows or items like cut plastic jugs or clear storage containers for smaller setups.
Remove the covers in the morning so the plants get better air circulation. Also, especially on sunny days, the plants may overheat if you keep them covered.
9. Rabbits or chickens
Keep small animals inside the greenhouse at night to add warmth. If you’re already raising chickens and/or rabbits and have some extra space in your greenhouse, you may be able to utilize them as a natural heating element. By putting a rabbit hutch or chicken coop inside the greenhouse, the heat from the animals’ bodies (and droppings) will radiate inside the enclosure.
- Animals also breathe out carbon dioxide, which your plants will in turn “breathe” in.
- You don’t have to keep your animals cooped up inside the greenhouse all the time. Give them some time and space to roam during the day, for instance, then move them to the greenhouse at night.
- Don’t let animals just roam freely in your greenhouse—they’ll turn you
10. Electric heater
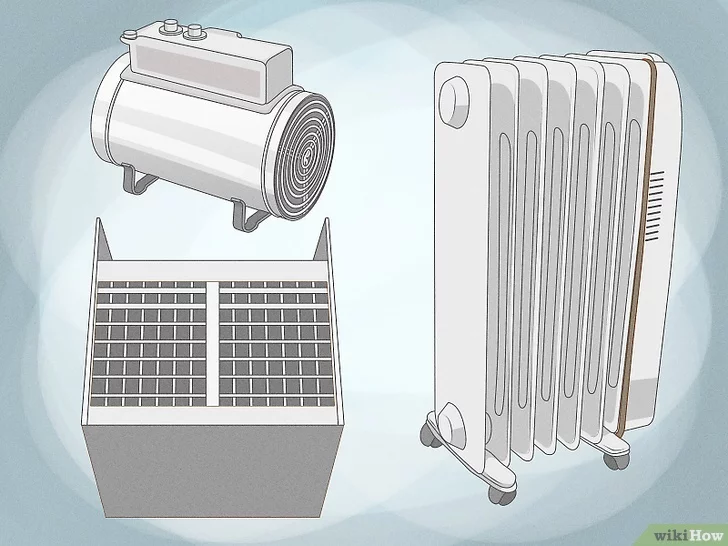
Manage your heater so it provides exactly the warmth you need. Especially if you live in a cold climate, you’re probably going to have to rely on heating devices to provide some of the warmth in your greenhouse. An electric heater is typically the safest and most efficient choice for a greenhouse, but you can further boost the efficiency (and safety) by taking measures like the following:
- Choose an electric heater that is designed for the size of your greenhouse.
- Use a thermostat so the heater doesn’t run unnecessarily. Keeping a greenhouse at a minimum of 45–50 °F (7–10 °C) is preferable, but going as low as 37 °F (3 °C) is okay if you have fans circulating the air.
- Do detailed heat loss calculations for precise information on your heating needs and efficiency. For more info, check out University of Georgia Extension’s publication on this topic.
11. Geothermal system
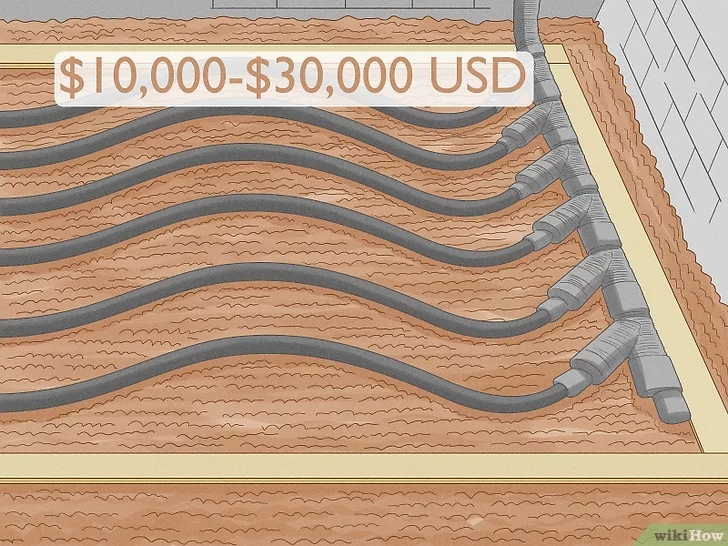
Invest in technology that provides constant heat from the earth. Geothermal heat pumps use the constant warmth underground to heat a space like a home—or a greenhouse. While it’s an extremely efficient and environmentally-friendly way to heat your greenhouse, the installation cost is likely prohibitive for most home greenhouses—it can cost $10,000-$30,000 USD or more to install a geothermal system.
- It’s easier—and likely less expensive—to install a geothermal system while building your greenhouse, as opposed to adding one after the fact.
- For more on this topic, check out the following:
- For an example of a geothermal installer, check out the following:


